
Whereas experimenting with particle programs, I challenged myself to create particles with tails, just like snakes transferring via area. At first, I didn’t have entry to TSL, so I examined fundamental concepts, like utilizing noise derivatives and calculating earlier steps for every particle, however none of them labored as anticipated.
I spent a very long time pondering the right way to make it work, however all my options concerned heavy testing with WebGL and GPGPU, which appeared like it could require an excessive amount of code for a easy proof of idea. That’s when TSL (Three.js Shader Language) got here into play. With its Compute Shaders, I used to be in a position to compute arrays and feed the outcomes into supplies, making it simpler to check concepts shortly and effectively. This allowed me to perform the duty with out a lot time misplaced.
Now, let’s dive into the step-by-step means of constructing the particle system, from establishing the surroundings to creating the paths and reaching that fluid motion.
Step 1: Set Up the Particle System
First, we’ll outline the mandatory uniforms that can be used to create and management the particles within the system.
uniforms = {
    coloration: uniform( new THREE.Shade( 0xffffff ).setRGB( 1, 1, 1 ) ),
    measurement: uniform( 0.489 ),

    uFlowFieldInfluence: uniform( 0.5 ),
    uFlowFieldStrength: uniform( 3.043 ),
    uFlowFieldFrequency: uniform( 0.207 ),
}
Subsequent, create the variables that can outline the parameters of the particle system. The “tails_count” variable determines what number of segments every snake can have, whereas the “particles_count” defines the overall variety of segments within the scene. The “story_count” variable represents the variety of frames used to retailer the place knowledge for every section. Growing this worth will enhance the gap between segments, as we are going to retailer the place historical past of every one. The “story_snake” variable holds the historical past of 1 snake, whereas “full_story_length” shops the historical past for all snakes. These variables can be sufficient to convey the idea to life.
tails_count = 7 //  n-1 level tails
particles_count = this.tails_count * 200 // want % tails_count
story_count = 5 // story for 1 place
story_snake = this.tails_count * this.story_count
full_story_length = ( this.particles_count / this.tails_count ) * this.story_snake
Subsequent, we have to create the buffers required for the computational shaders. An important buffer to concentrate on is the “positionStoryBuffer,” which is able to retailer the place historical past of all segments. To know the way it works, think about a practice: the top of the practice units the course, and the vehicles comply with in the identical path. By saving the place historical past of the top, we are able to use that knowledge to find out the place of every automobile by referencing its place within the historical past.
const positionsArray = new Float32Array( this.particles_count * 3 )
const lifeArray = new Float32Array( this.particles_count )

const positionInitBuffer = instancedArray( positionsArray, 'vec3' );
const positionBuffer = instancedArray( positionsArray, 'vec3' );

// Tails
const positionStoryBuffer = instancedArray( new Float32Array( this.particles_count * this.tails_count * this.story_count ), 'vec3' );

const lifeBuffer = instancedArray( lifeArray, 'float' );
Now, let’s create the particle system with a cloth. I selected a regular materials as a result of it permits us to make use of an emissiveNode, which is able to work together with Bloom results. For every section, we’ll use a sphere and disable frustum culling to make sure the particles don’t by chance disappear off the display screen.
const particlesMaterial = new THREE.MeshStandardNodeMaterial( {
    metalness: 1.0,
    roughness: 0
} );

particlesMaterial.emissiveNode = coloration(0x00ff00)

const sphereGeometry = new THREE.SphereGeometry( 0.1, 32, 32 );

const particlesMesh = this.particlesMesh = new THREE.InstancedMesh( sphereGeometry, particlesMaterial, this.particles_count );
particlesMesh.instanceMatrix.setUsage( THREE.DynamicDrawUsage );
particlesMesh.frustumCulled = false;

this.scene.add( this.particlesMesh )
Step 2: Initialize Particle Positions
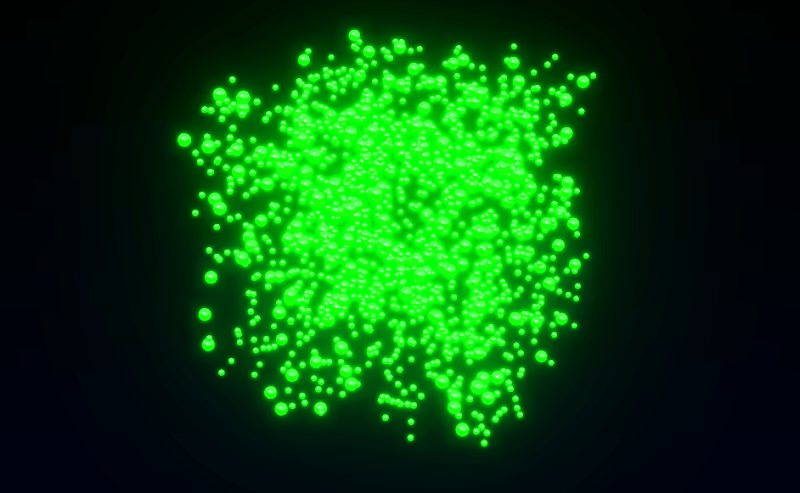
To initialize the positions of the particles, we’ll use a computational shader to scale back CPU utilization and velocity up web page loading. We randomly generate the particle positions, which kind a pseudo-cube form. To maintain the particles at all times seen on display screen, we assign them a lifetime after which they disappear and received’t reappear from their beginning positions. The “cycleStep” helps us assign every snake its personal random positions, guaranteeing the tails are generated in the identical location as the top. Lastly, we ship this knowledge to the computation course of.
const computeInit = this.computeInit = Fn( () => {
    const place = positionBuffer.factor( instanceIndex )
    const positionInit = positionInitBuffer.factor( instanceIndex );
    const life = lifeBuffer.factor( instanceIndex )

    // Place
    place.xyz = vec3(
        hash( instanceIndex.add( uint( Math.random() * 0xffffff ) ) ),
        hash( instanceIndex.add( uint( Math.random() * 0xffffff ) ) ),
        hash( instanceIndex.add( uint( Math.random() * 0xffffff ) ) )
    ).sub( 0.5 ).mul( vec3( 5, 5, 5 ) );

    // Copy Init
    positionInit.assign( place )

    const cycleStep = uint( float( instanceIndex ).div( this.tails_count ).ground() )

    // Life
    const lifeRandom = hash( cycleStep.add( uint( Math.random() * 0xffffff ) ) )
    life.assign( lifeRandom )

} )().compute( this.particles_count );

this.renderer.computeAsync( this.computeInit ).then( () => {
    this.initialCompute = true
} )
Step 3: Compute Place Historical past
For every body, we compute the place historical past for every section. The important thing side of the “computePositionStory” operate is that new positions are recorded solely from the top of the snake, and all positions are shifted one step ahead utilizing a queue algorithm.
const computePositionStory = this.computePositionStory = Fn( () => {
    const positionStory = positionStoryBuffer.factor( instanceIndex )

    const cycleStep = instanceIndex.mod( uint( this.story_snake ) )
    const lastPosition = positionBuffer.factor( uint( float( instanceIndex.div( this.story_snake ) ).ground().mul( this.tails_count ) ) )

    If( cycleStep.equal( 0 ), () => { // Head
        positionStory.assign( lastPosition )
    } )

    positionStoryBuffer.factor( instanceIndex.add( 1 ) ).assign( positionStoryBuffer.factor( instanceIndex ) )

} )().compute( this.full_story_length );
Step 4: Replace Particle Positions
Subsequent, we replace the positions of all particles, considering the recorded historical past of their positions. First, we use simplex noise to generate the brand new positions of the particles, permitting our snakes to maneuver easily via area. Every particle additionally has its personal lifetime, throughout which it strikes and finally resets to its authentic place. The important thing a part of this operate is figuring out which particle is the top and which is the tail. For the top, we generate a brand new place primarily based on simplex noise, whereas for the tail, we use positions from the saved historical past.
const computeUpdate = this.computeUpdate = Fn( () => {

    const place = positionBuffer.factor( instanceIndex )
    const positionInit = positionInitBuffer.factor( instanceIndex )

    const life = lifeBuffer.factor( instanceIndex );

    const _time = time.mul( 0.2 )

    const uFlowFieldInfluence = this.uniforms.uFlowFieldInfluence
    const uFlowFieldStrength = this.uniforms.uFlowFieldStrength
    const uFlowFieldFrequency = this.uniforms.uFlowFieldFrequency

    If( life.greaterThanEqual( 1 ), () => {
        life.assign( life.mod( 1 ) )
        place.assign( positionInit )

    } ).Else( () => {
        life.addAssign( deltaTime.mul( 0.2 ) )
    } )

    // Energy
    const energy = simplexNoise4d( vec4( place.mul( 0.2 ), _time.add( 1 ) ) ).toVar()
    const affect = uFlowFieldInfluence.sub( 0.5 ).mul( -2.0 ).toVar()
    energy.assign( smoothstep( affect, 1.0, energy ) )

    // Movement discipline
    const flowField = vec3(
        simplexNoise4d( vec4( place.mul( uFlowFieldFrequency ).add( 0 ), _time ) ),
        simplexNoise4d( vec4( place.mul( uFlowFieldFrequency ).add( 1.0 ), _time ) ),
        simplexNoise4d( vec4( place.mul( uFlowFieldFrequency ).add( 2.0 ), _time ) )
    ).normalize()

    const cycleStep = instanceIndex.mod( uint( this.tails_count ) )

    If( cycleStep.equal( 0 ), () => { // Head
        const newPos = place.add( flowField.mul( deltaTime ).mul( uFlowFieldStrength ) /* * energy */ )
        place.assign( newPos )
    } ).Else( () => { // Tail
        const prevTail = positionStoryBuffer.factor( instanceIndex.mul( this.story_count ) )
        place.assign( prevTail )
    } )

} )().compute( this.particles_count );
To show the particle positions, we’ll create a easy operate referred to as “positionNode.” This operate is not going to solely output the positions but in addition apply a slight magnification impact to the top of the snake.
particlesMaterial.positionNode = Fn( () => {
    const place = positionBuffer.factor( instanceIndex );

    const cycleStep = instanceIndex.mod( uint( this.tails_count ) )
    const finalSize = this.uniforms.measurement.toVar()

    If( cycleStep.equal( 0 ), () => {
        finalSize.addAssign( 0.5 )
    } )

    return positionLocal.mul( finalSize ).add( place )
} )()
The ultimate factor can be to replace the calculations on every body.
async replace( deltaTime ) {

    // Compute replace
    if( this.initialCompute) {
        await this.renderer.computeAsync( this.computePositionStory )
        await this.renderer.computeAsync( this.computeUpdate )
    }
}Conclusion
Now, you need to be capable to simply create place historical past buffers for different problem-solving duties, and with TSL, this course of turns into fast and environment friendly. I imagine this mission has potential for additional growth, akin to transferring place knowledge to mannequin bones. This might allow the creation of lovely, flying dragons or comparable results in 3D area. For this, a customized bone construction tailor-made to the mission could be wanted.