
Many apps must cope with persisting information. Maybe you may have an app that shops your favourite pet pictures, a social networking app for cat lovers, or an app to take care of lists of things you want on your subsequent trip.
Android gives many choices, together with:
- Shared Preferences: For storing primitive information in key-value pairs.
- Inside Storage: For storing non-public information on machine storage.
- Exterior Storage: For storing public information on shared exterior storage.
- SQLite Databases: For storing structured information in a non-public database.
When your information is structured and it’s good to seek for information in that information, a SQLite database is usually your best option. That is the place Room is available in. Room is a SQLite wrapper library from Google that removes a lot of the boilerplate code that it’s good to work together with SQLite and provides compile-time checks of your SQL queries.
On this tutorial, you’ll construct an utility that creates a generic checklist that might be used as a purchasing, to-do or packing checklist. Alongside the way in which, you’ll study:
- The fundamentals of organising a Room database.
- Easy methods to use a DAO to Create and Learn information.
- The fundamentals of unit testing your persistence layer.
- Easy methods to hook up your database to an Android UI.
Observe: This tutorial assumes that you’ve expertise creating Android functions. Keep in mind that the code snippets on this tutorial don’t embody the wanted import statements. Use the important thing mixture Possibility-Return on Mac/Alt-Enter on PC to resolve any lacking dependencies as you’re employed by means of your challenge.
Introduction to Android Information Persistence
Courses, Tables, Rows and Cases
To grasp Room, it’s useful to grasp the sum of its elements, so let’s begin with a easy instance of storing the names, addresses and telephone numbers of some folks.
If you’re creating functions utilizing an object-oriented programming language like Kotlin, you utilize courses to signify the information that you simply’re storing. In our instance, you may create a category referred to as Particular person, with the next attributes:
For every individual, you’d then create an occasion of a Particular person, with distinct information for that particular person.
With a SQL relational database, you’ll mannequin the Particular person class as a desk. Every occasion of that individual can be a row in that desk. To retailer and retrieve this information, SQL instructions should be issued to the database, telling it to retrieve and retailer the information.
For instance, to retailer a file in a desk you may use the next command:
INSERT INTO Individuals (Title, Tackle, TelephoneNumber)
VALUES ('Grumpy Cat', '1 Tuna Means, Los Angeles CA', '310-867-5309');
Within the early days of Android, if you happen to had a Particular person object that you simply needed to retailer within the SQLite database, you needed to create glue code that might flip objects into SQL and SQL into objects.

ORMs and Android
Lengthy earlier than the times of Android, builders in different object-oriented languages began utilizing a category of instrument referred to as an ORM to resolve this drawback. ORM stands for Object Relational Mapper. One of the simplest ways to consider it’s as a instrument designed to routinely generate glue code to map between your object situations and rows in your database.
When Android got here on the scene, no ORM existed for the Android atmosphere. Through the years, open-source ORM frameworks emerged, together with DBFlow, GreenDAO, OrmLite, SugarORM and Energetic Android. Whereas these options have helped resolve the fundamental drawback of lowering glue code, builders have by no means actually gravitated towards one (or two) frequent options. That has led to vital fragmentation and limitations in lots of of those frameworks, particularly with extra advanced utility lifecycles.
Google’s Android Structure Parts and Room
Past information persistence, Android builders have created a number of techniques to cope with these issues, together with sustaining state throughout utility lifecycle adjustments, callbacks, separating utility issues and creating view fashions for MVVM functions. In 2017, Google took among the greatest practices from builders and created a framework referred to as the Android Structure Parts. Included on this framework was a brand new ORM referred to as Room. With Room you may have an ORM to generate your glue code with the backing of the creators of Android.

Getting Began With Room
To start out, obtain the supplies for this tutorial (you could find the hyperlink on the high or backside of this tutorial), unzip it and begin Android Studio 4.1 or later.
Within the Welcome to Android Studio dialog, choose Open.
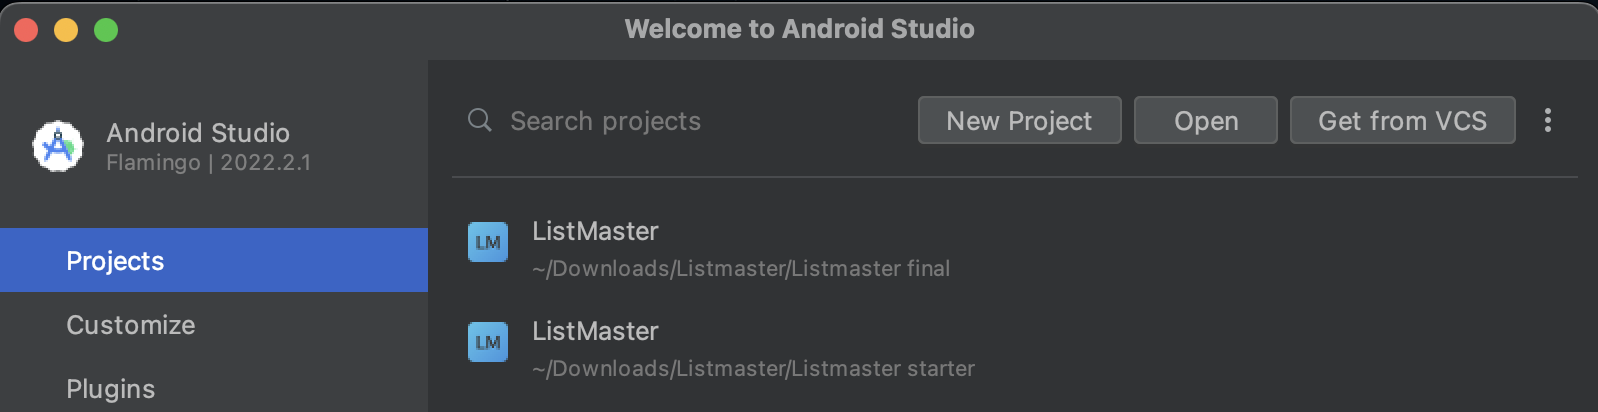
Select the ListMaster listing of the starter challenge and click on Open.

In case you see a message to replace the challenge’s Gradle plugin, you’re utilizing a later model of Android Studio. Select “Replace”.
Take a look at the challenge for the Listing Grasp app and also you’ll discover just a few packages structured in layers.
- information: Accommodates
CategoryDao, an interface that’ll handle the features to entry your objects within the database. - di: Has two courses
DataModule, which is able to principally get replaced as you find out about Room, andViewModelModule, which gives the code to the View so it may be displayed. - presentation: Accommodates the three screens and their ViewModels, every with their very own subfolder.
- MainActivity: The Exercise that shows the app and will get the data from the completely different screens.
- AppDatabase: A file the place you’ll create the database for this tutorial.
- ListMasterApplication: Accommodates the modules and injects them with Koin, a dependency injection library.
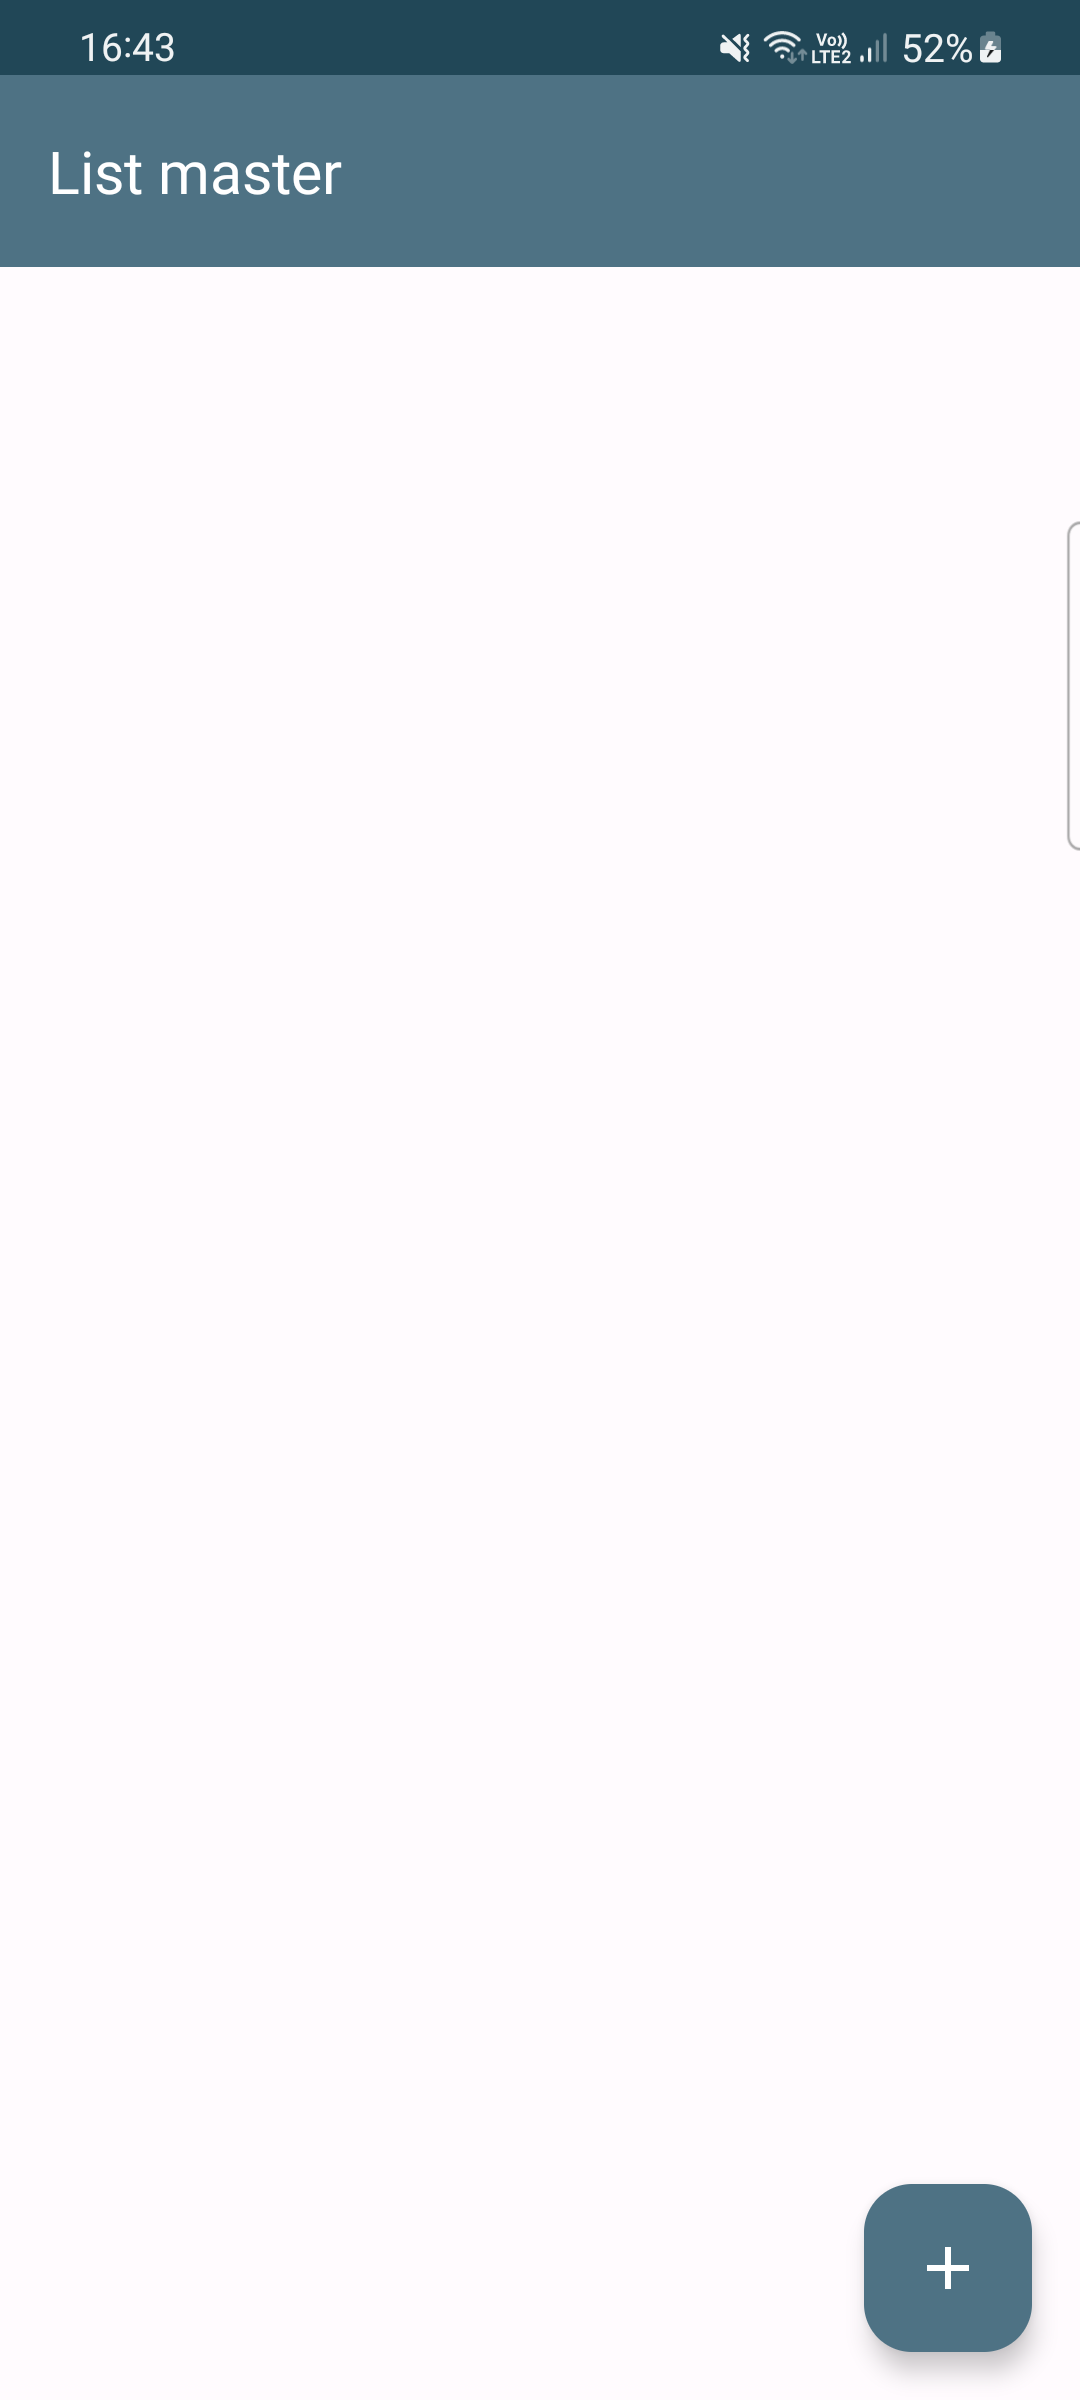
Construct and run the applying and your app will appear like this:
Beneath the Gradle Scripts a part of your challenge, you’ll see a construct.gradle file with a (Module:app) notation. Double-click to open and add the next dependencies that add Room to your challenge, earlier than the // Testing dependencies code on the backside of the file the place the TODO 1 is situated.
implementation("androidx.room:room-runtime:$roomVersion")
implementation("androidx.room:room-ktx:$roomVersion")
kapt("androidx.room:room-compiler:$roomVersion")
Sync Gradle information when you’ve made the change.
You now have the Room dependencies wanted for utilizing Room in any Android challenge. Subsequent, you’ll want so as to add the next objects to make use of Room in your app:
- Entity: An Entity represents the information mannequin that you simply’re mapping to a desk in your database.
- DAO: quick for Information Entry Object, an object with strategies used to entry the database.
- Database: A database holder that serves as the principle entry level for the connection to your database.