Sending MMS (Multimedia Messaging Service) messages on Samsung Android telephones can typically result in irritating points resembling non-responsive recipients, message sending failures, or connectivity issues.
In case you have points with sending MMS messages in your Samsung telephone and need to troubleshoot it, then undergo this text. Right here we will provide you with some troubleshooting ideas to assist resolve most MMS-related points on Samsung telephones.
Additionally, make sure that your APN Settings are right – Record of APN Settings for All Carriers / Android Telephones.
See additionally – Android Not Receiving Texts From iPhone? 10 Methods To Repair It and Why Aren’t My iPhone Messages Sending? This is What To Do.
MMS messages not sending on Android or Samsung Gadgets: 11 Strategies
The problem might be associated to your cell phone service, community issues inside your telephone, or the MMS Service. Undergo the record beneath and take a look at the strategies to search out the fitting resolution.
Methodology 1: Restart your Cellphone
MMS-related points can solely be non permanent. The answer might be so simple as restarting your telephone.
- Press the Energy/Lock button for a couple of seconds till the choices seem.
- Then faucet Restart.
Methodology 2: Toggle Superior Messaging
Superior Messaging lets you ship information as much as 10MB, ten occasions larger than conventional messaging. You may also see your message standing (delivered/learn/unsent).
Nevertheless, it can solely work if each sender and recipient units are appropriate with Superior Messaging. Examine when you’ve got turned on this characteristic.
- Navigate to the Messages app
- Faucet on the Menu choice (three dots icon)
- Choose Settings
- Faucet Superior messaging.
- Toggle the swap button subsequent to Superior messaging
Methodology 3: Relaunch your messaging app
Generally, one thing so simple as this may be the one factor you might want to do. Shut the app and relaunch it.
Methodology 4: Flip Off WiFi
MMS requires an web connection to ship or obtain multimedia information. Nevertheless, it could not work with WiFi. Contemplate connecting to your cell information plan as an alternative.
Additionally, be sure to have an energetic cell information plan in your telephone.
- Open Settings
- Faucet Connections.
- Toggle the swap button subsequent to WiFi to show it off
If you’re utilizing WiFi:
- Examine the connection in your Android Gadget.
- Your web connection is misplaced if a small WiFi check in your notification bar is not exhibiting. Please flip it on.
- If you’re utilizing WiFi, attempt switching to Cell Information and Flip WiFi Off.
Tip: You may also disable Energy Saving Mode.
Methodology 5: Clear the MMS Service
Clearing the cache of the MMS service might help to revive its perform.
- Go to Settings in your Android or Samsung telephone
- Select Apps
- Seek for MMS
- Faucet MMS Service
- Choose Storage
- Faucet Clear cache after which faucet OK
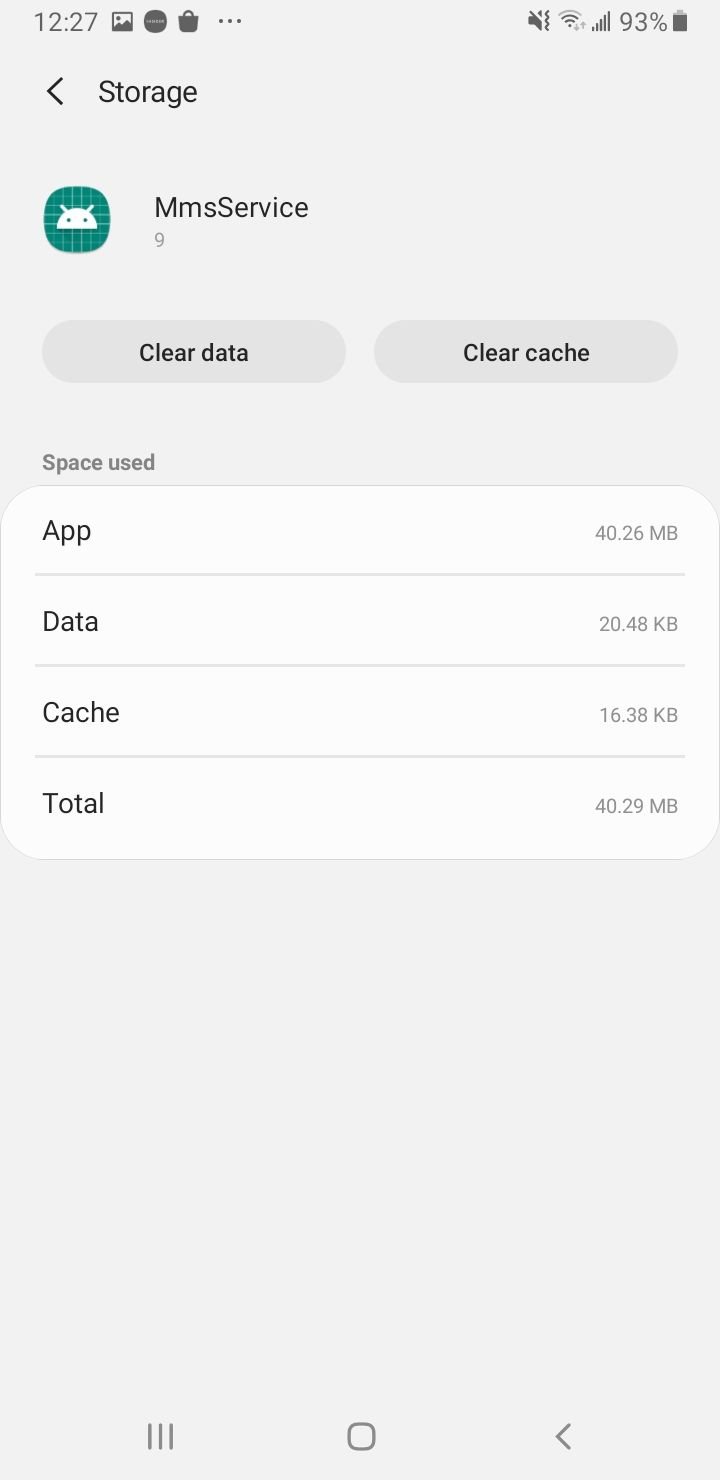
To wipe the information, return to the earlier display screen and select Clear information. Faucet OK to substantiate.
Methodology 6: Flip On Multimedia messages Auto Retrieve
The Auto retrieve characteristic downloads your messages as quickly as they’re obtainable. Enabling this characteristic will permit your MMS to obtain quicker.
- Navigate to the Messages app
- Faucet on the Menu choice (three dots icon)
- Choose Extra Settings
- Faucet Multimedia Messages
- Toggle the swap button subsequent to Auto retrieve
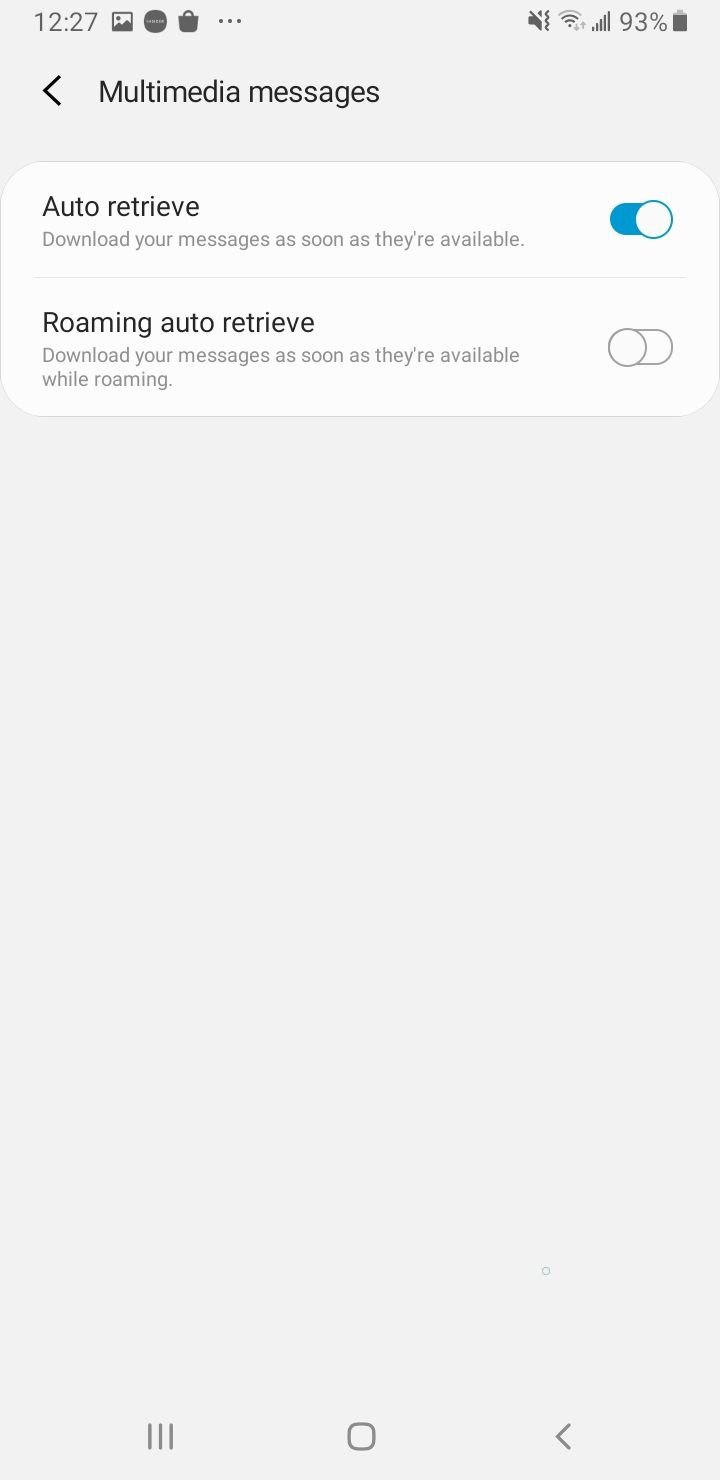
Methodology 7: Flip On Multimedia messages Roaming Auto Retrieve
Just like the answer above, this can allow the characteristic whereas roaming.
- Navigate to the Messages app
- Faucet on the Menu choice (three dots icon)
- Choose Extra Settings
- Faucet Multimedia Messages
- Toggle the swap button subsequent to roaming Auto retrieve
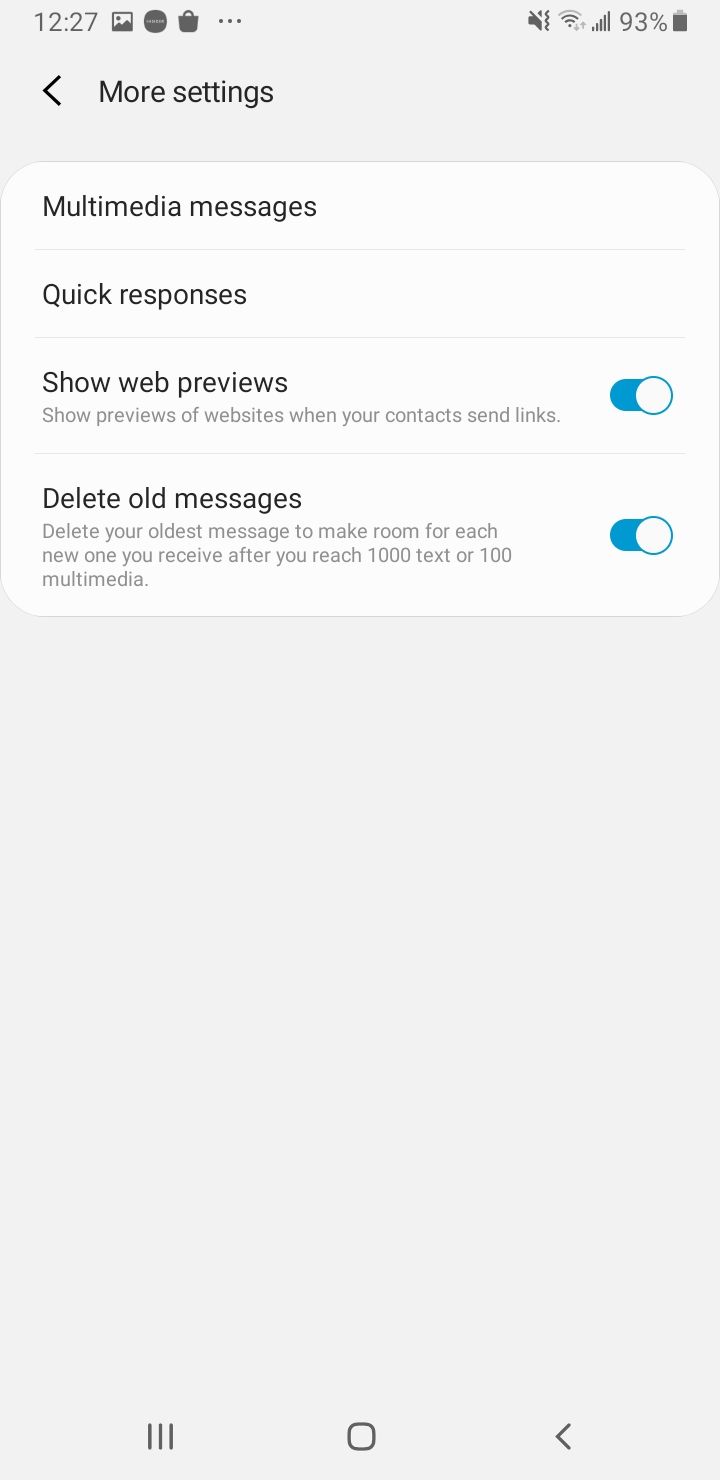
Methodology 8: Delete Older Threads
In case you use the Messages app typically, it could be filled with threads. Deleting pointless or big information can repair your Android or Samsung Galaxy telephone that isn’t sending MMS. Alternatively, you may auto-delete outdated messages:
- Navigate to the Messages app
- Faucet on the Menu choice (three dots icon)
- Choose Extra Settings
- Toggle the swap button subsequent to delete outdated messages
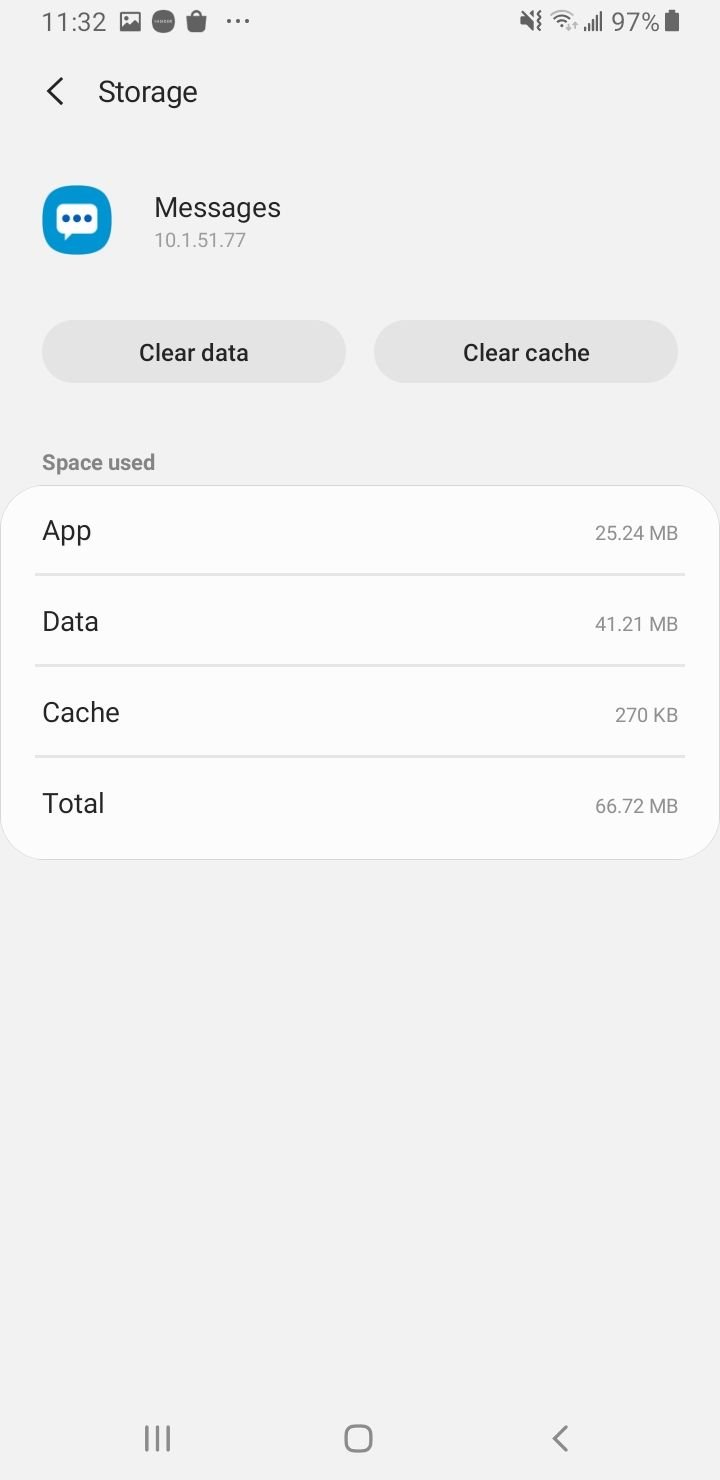
Methodology 9: Wipe the message cache and information
Wiping the Messages cache will assist take away junk information and clear the app. In lots of circumstances, this technique can clear up non permanent issues in your gadget.
- Go to Settings in your Android or Samsung telephone
- Select Apps
- Faucet on Messages
- Choose Storage
- Faucet Clear cache after which faucet OK
To wipe the information, return to the earlier display screen and select Clear information. Faucet OK to substantiate.
Reboot your telephone and attempt to ship the MMS once more.
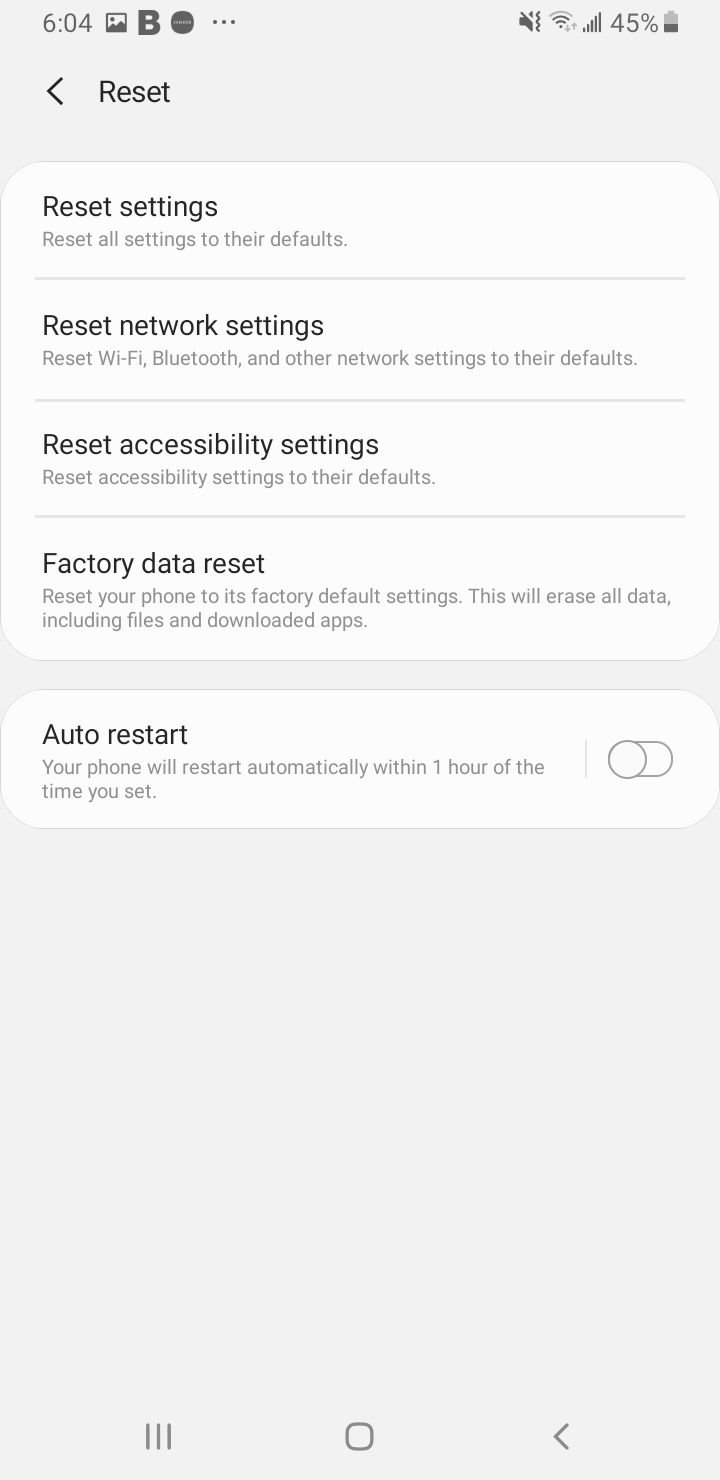
Methodology 10: Reset Community Settings
This technique will reset all of your settings associated to WiFi, mobile community, Bluetooth connections, and many others. This is not going to have an effect on the non-public information saved in your Samsung Galaxy or Android Gadget.
You might solely must enter WiFi passwords when the method is completed.
- From the House display screen, faucet Settings
- Choose Common Administration
- Faucet Reset.
- Select Reset Community Settings and enter your password if wanted
- Faucet Reset to substantiate.
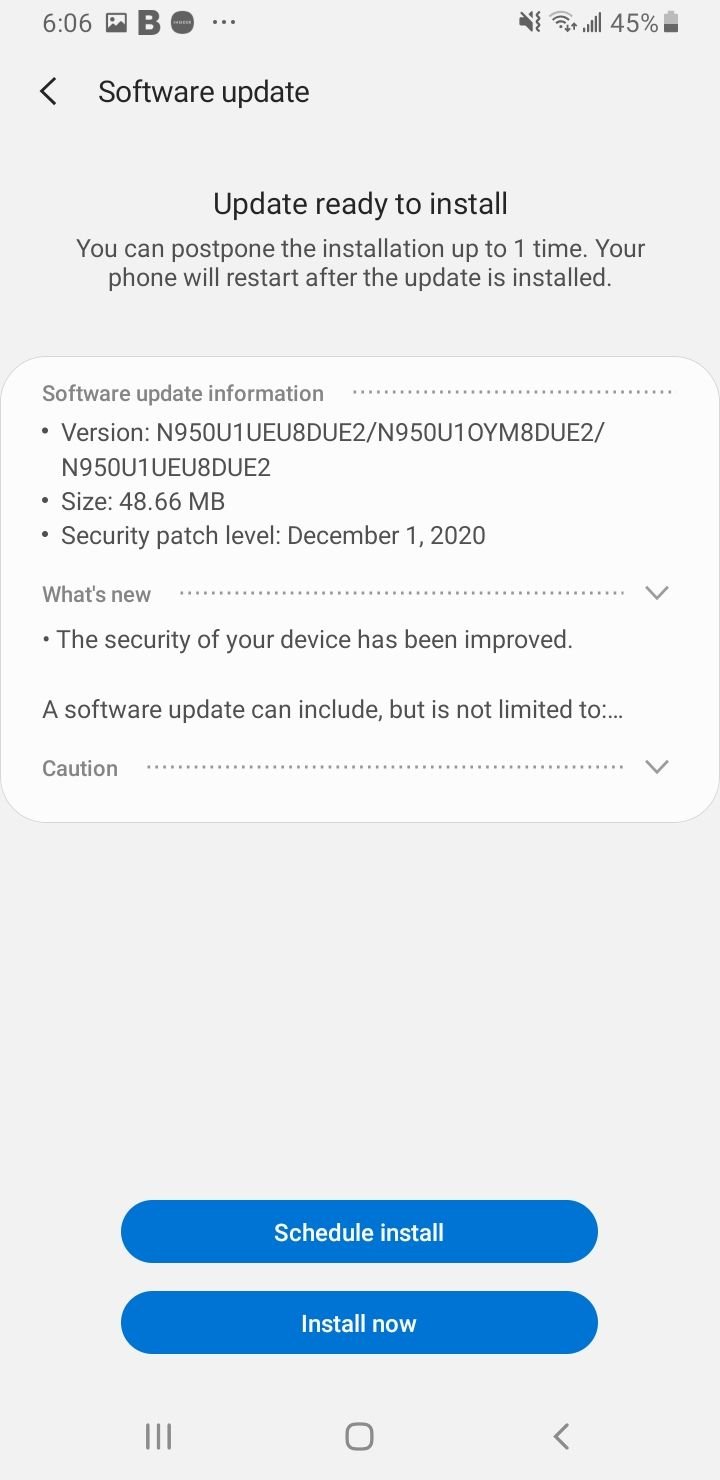
Methodology 11: Replace your Cellphone
If you have not enabled automated updates in your gadget, you may verify if there’s an replace manually:
- Go to Settings
- Scroll down and faucet About Gadget or Software program Replace
- Faucet Software program Replace or System replace.
In case your Samsung emails should not being despatched or pushed by, contemplate eradicating your Samsung e mail and re-adding it. Navigate to :
- Settings
- Faucet Accounts and Again up.
- Faucet Accounts.
- Choose the Account
- Faucet Delete.
As soon as achieved, observe the identical process to re-add your account.