
On this fast tip, excerpted from Unleashing the Energy of TypeScript, Steve reveals you the way to lengthen the properties of an HTML ingredient in TypeScript.
In many of the bigger purposes and initiatives I’ve labored on, I usually discover myself constructing a bunch of elements which might be actually supersets or abstractions on prime of the usual HTML components. Some examples embody customized button components that may take a prop defining whether or not or not that button needs to be a main or secondary button, or perhaps one which signifies that it’s going to invoke a harmful motion, reminiscent of deleting or eradicating a merchandise from the database. I nonetheless need my button to have all of the properties of a button along with the props I wish to add to it.
One other widespread case is that I’ll find yourself making a element that enables me to outline a label and an enter area without delay. I don’t wish to re-add the entire properties that an <enter /> ingredient takes. I would like my customized element to behave identical to an enter area, however additionally take a string for the label and mechanically wire up the htmlFor prop on the <label /> to correspond with the id on the <enter />.
In JavaScript, I can simply use {...props} to go by any props to an underlying HTML ingredient. This could be a bit trickier in TypeScript, the place I must explicitly outline what props a element will settle for. Whereas it’s good to have fine-grained management over the precise sorts that my element accepts, it may be tedious to have so as to add in sort data for each single prop manually.
In sure situations, I want a single adaptable element, like a <div>, that adjustments types in response to the present theme. For instance, perhaps I wish to outline what types needs to be used relying on whether or not or not the consumer has manually enabled gentle or darkish mode for the UI. I don’t wish to redefine this element for each single block ingredient (reminiscent of <part>, <article>, <apart>, and so forth). It needs to be able to representing completely different semantic HTML components, with TypeScript mechanically adjusting to those adjustments.
There are a few methods that we will make use of:
- For elements the place we’re creating an abstraction over only one form of ingredient, we will lengthen the properties of that ingredient.
- For elements the place we wish to outline completely different components, we will create polymorphic elements. A polymorphic element is a element designed to render as completely different HTML components or elements whereas sustaining the identical properties and behaviors. It permits us to specify a prop to find out its rendered ingredient sort. Polymorphic elements provide flexibility and reusability with out us having to reimplement the element. For a concrete instance, you’ll be able to take a look at Radix’s implementation of a polymorphic element.
On this tutorial, we’ll take a look at the primary technique.
Mirroring and Extending the Properties of an HTML Ingredient
Let’s begin with that first instance talked about within the introduction. We wish to create a button that comes baked in with the suitable styling to be used in our utility. In JavaScript, we would have the ability to do one thing like this:
const Button = (props) => {
  return <button className="button" {...props} />;
};
In TypeScript, we might simply add what we all know we’d like. For instance, we all know that we’d like the kids if we wish our customized button to behave the identical approach an HTML button does:
const Button = ({ kids }: React.PropsWithChildren) => {
  return <button className="button">{kids}</button>;
};
You may think about that including properties one by one might get a bit tedious. As a substitute, we will inform TypeScript that we wish to match the identical props that it will use for a <button> ingredient in React:
const Button = (props: React.ComponentProps<'button'>) => {
  return <button className="button" {...props} />;
};
However we now have a brand new drawback. Or, quite, we had an issue that additionally existed within the JavaScript instance and which we ignored. If somebody utilizing our new Button element passes in a className prop, it can override our className. We might (and we’ll) add some code to cope with this in a second, however I don’t wish to go up the chance to indicate you the way to use a utility sort in TypeScript to say “I wish to use all of the props from an HTML button besides for one (or extra)”:
sort ButtonProps = Omit<React.ComponentProps<'button'>, 'className'>;

const Button = (props: ButtonProps) => {
  return <button className="button" {...props} />;
};
Now, TypeScript will cease us or anybody else from passing a className property into our Button element. If we simply needed to increase the category record with no matter is handed in, we might do this in just a few other ways. We might simply append it to the record:
sort ButtonProps = React.ComponentProps<'button'>;

const Button = (props: ButtonProps) => {
  const className="button " + props.className;

  return <button className={className.trim()} {...props} />;
};
I like to make use of the clsx library when working with courses, because it takes care of most of those sorts of issues on our behalf:
import React from 'react';
import clsx from 'clsx';

sort ButtonProps = React.ComponentProps<'button'>;

const Button = ({ className, ...props }: ButtonProps) => {
  return <button className={clsx('button', className)} {...props} />;
};

export default Button;
We discovered the way to restrict the props {that a} element will settle for. To increase the props, we will use an intersection:
sort ButtonProps = React.ComponentProps<'button'> &  'secondary';
;
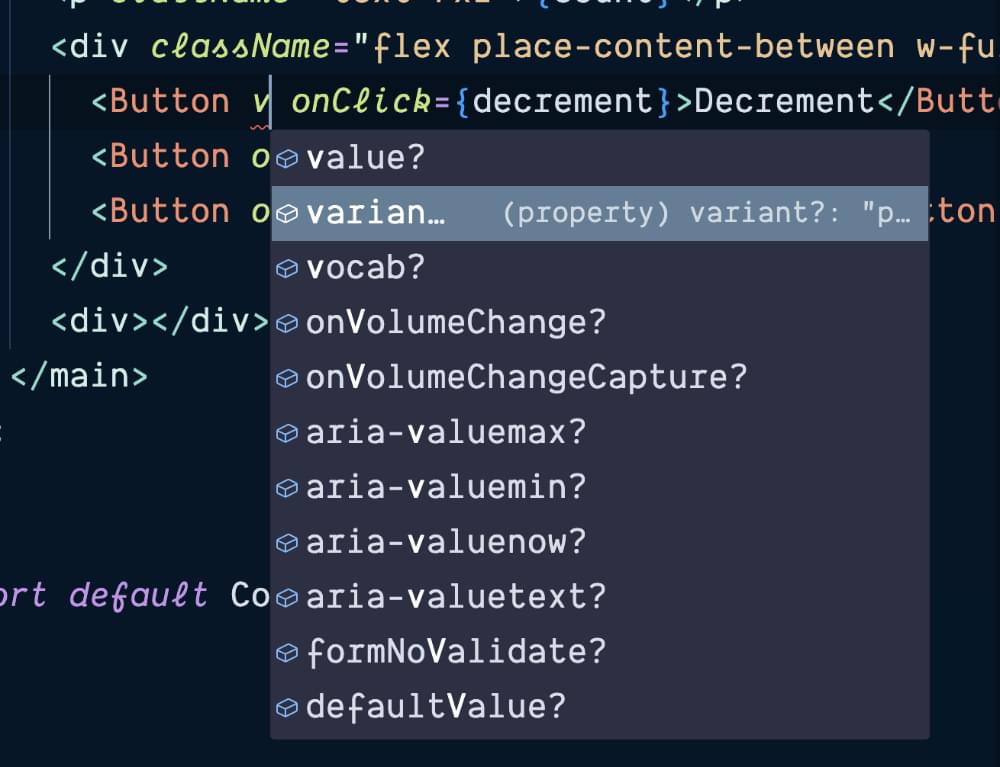
We’re now saying that Button accepts the entire props {that a} <button> ingredient accepts plus yet another: variant. This prop will present up with all the opposite props we inherited from HTMLButtonElement.
We will add assist to our Button so as to add this class as properly:
const Button = ({ variant, className, ...props }: ButtonProps) => {
  return (
    <button
      className={clsx(
        'button',
        variant === 'main' && 'button-primary',
        variant === 'secondary' && 'button-secondary',
        className,
      )}
      {...props}
    />
  );
};
We will now replace src/utility.tsx to make use of our new button element:
diff --git a/src/utility.tsx b/src/utility.tsx
index 978a61d..fc8a416 100644
--- a/src/utility.tsx
+++ b/src/utility.tsx
@@ -1,3 +1,4 @@
+import Button from './elements/button';
 import useCount from './use-count';

 const Counter = () => {
@@ -8,15 +9,11 @@ const Counter = () => {
       <h1>Counter</h1>
       <p className="text-7xl">{depend}</p>
       <div className="flex place-content-between w-full">
-        <button className="button" onClick={decrement}>
+        <Button onClick={decrement}>
           Decrement
-        </button>
-        <button className="button" onClick={reset}>
-          Reset
-        </button>
-        <button className="button" onClick={increment}>
-          Increment
-        </button>
+        </Button>
+        <Button onClick={reset}>Reset</Button>
+        <Button onClick={increment}>Increment</Button>
       </div>
       <div>
         <type
@@ -32,9 +29,9 @@ const Counter = () => {
         >
           <label htmlFor="set-count">Set Rely</label>
           <enter sort="quantity" id="set-count" title="set-count" />
-          <button className="button-primary" sort="submit">
+          <Button variant="main" sort="submit">
             Set
-          </button>
+          </Button>
         </type>
       </div>
     </important>
You’ll find the adjustments above in the button department of the GitHub repo for this tutorial.
Creating Composite Elements
One other widespread element that I sometimes find yourself making for myself is a element that accurately wires up a label and enter ingredient with the right for and id attributes respectively. I are likely to develop weary typing this out time and again:
<label htmlFor="set-count">Set Rely</label>
<enter sort="quantity" id="set-count" title="set-count" />
With out extending the props of an HTML ingredient, I would find yourself slowly including props as wanted:
sort LabeledInputProps =  quantity;
  sort?: string;
  className?: string;
  onChange?: ChangeEventHandler<HTMLInputElement>;
;
As we noticed with the button, we will refactor it in a similar way:
sort LabeledInputProps = React.ComponentProps<'enter'> & {
  label: string;
};
Apart from label, which we’re passing to the (uhh) label that we’ll usually need grouped with our inputs, we’re manually passing props by one after the other. Will we wish to add autofocus? Higher add one other prop. It could be higher to do one thing like this:
import { ComponentProps } from 'react';

sort LabeledInputProps = ComponentProps<'enter'> & {
  label: string;
};

const LabeledInput = ({ id, label, ...props }: LabeledInputProps) => {
  return (
    <>
      <label htmlFor={id}>{label}</label>
      <enter {...props} id={id} readOnly={!props.onChange} />
    </>
  );
};

export default LabeledInput;
We will swap in our new element in src/utility.tsx:
<LabeledInput
  id="set-count"
  label="Set Rely"
  sort="quantity"
  onChange={(e) => setValue(e.goal.valueAsNumber)}
  worth={worth}
/>
We will pull out the issues we have to work with after which simply go every thing else on by to the <enter /> element, after which simply faux for the remainder of our days that it’s a normal HTMLInputElement.
TypeScript doesn’t care, since HTMLElement is fairly versatile, because the DOM pre-dates TypeScript. It solely complains if we toss one thing utterly egregious in there.
You may see the entire adjustments above in the enter department of the GitHub repo for this tutorial.
This text is excerpted from Unleashing the Energy of TypeScript, out there on SitePoint Premium and from book retailers.