
On this tutorial, we’ll discover methods to generate a partaking bulge impact on textual content utilizing React Three Fiber.
For the previous few weeks, I’ve been experimenting with mixing 3D and 2D to create compelling results. In the present day, I’ll information you thru replicating this bulge impact on textual content.
To streamline the method and preserve a structured method for combining HTML with 3D, we’ll use React Three Fiber.
Let’s dive in!
Setup
First, let’s arrange our 3D scene by creating:
- a aircraft (the place our textual content bulge impact shall be displayed).
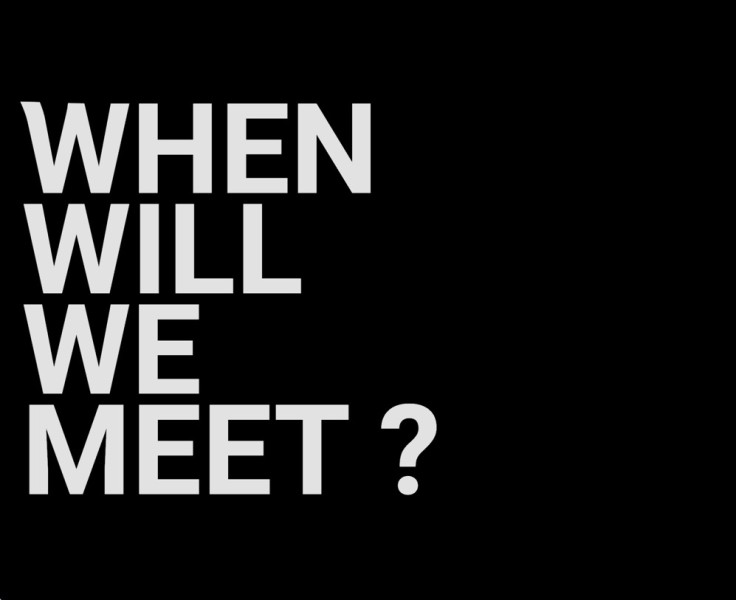
- our HTML textual content ingredient.
With drei, you’ll be able to immediately inject HTML components inside your Scene elements utilizing the HTML part. That is helpful in our case as a result of we’ll want entry to our HTML inside our 3D scene.
It’s additionally vital to wrap the title inside a single div that spans the whole viewport width and top. Equally, for the aircraft, with R3F’s useThree() hook, we are able to simply retrieve the viewport sizes.
For now, let’s set the aircraft’s opacity to 0 to see our HTML ingredient:
operate Scene() {
  const { viewport } = useThree();

  return (
    <>
      <Html zIndexRange={[-1, -10]} prepend fullscreen>
         <div className="dom-element">
            WHEN <br />
            WILL <br />
            WE <br />
            MEET ?<br />
        </div>
      </Html>
      <mesh>
        <planeGeometry args={[viewport.width, viewport.height, 254, 254]} />
        <meshBasicMaterial clear opacity={0} />
      </mesh>
    </>
  );
}
Changing HTML to Texture
Now, the principle trick for this impact is to transform our div right into a texture that we are going to apply to our aircraft. For that, we’ll make the most of the html2canvas library to generate a picture from our DOM ingredient after which convert it right into a texture.
To streamline this course of for future initiatives, let’s create a customized hook named useDomToCanvas.
const useDomToCanvas = (domEl) => {
  const [texture, setTexture] = useState();

  useEffect(() => {
    if (!domEl) return;
    const convertDomToCanvas = async () => {
      const canvas = await html2canvas(domEl, { backgroundColor: null });
      setTexture(new THREE.CanvasTexture(canvas));
    };
    convertDomToCanvas();
  }, [domEl]);

  return texture;
};
We will additionally improve the hook to deal with resizing, because the div might stay behind the canvas. We merely must recall the operate when the window is resized. To stop extreme draw calls, let’s incorporate a debounce.
const debouncedResize = debounce(() => {
  convertDomToCanvas();
}, 100);

window.addEventListener("resize", debouncedResize);
Implementing the Bulge Impact
Now, to realize the bulge impact, we’ll use shader applications to entry the vertices of the aircraft. Though shader programming might sound troublesome, don’t fear – in our case, it is going to be a easy impact. We’ll break it down into three small steps so you’ll be able to simply observe what’s taking place.
For an introduction to shaders, you may also seek advice from the Lewis Lepton YouTube sequence.
First, let’s use a shaderMaterial as the fabric for the aircraft and create our fragment and vertex shaders.
// Scene.jsx
...
<shaderMaterial
ref={materialRef}
uniforms={uniforms}
vertexShader={vertexShader}
fragmentShader={fragmentShader}
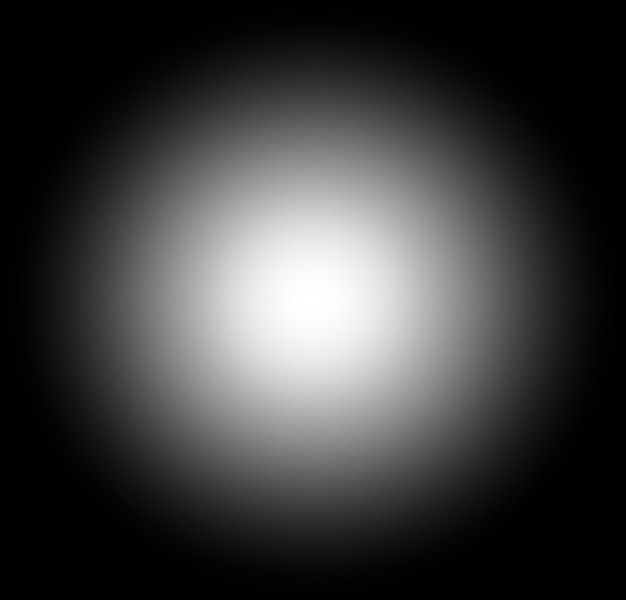
/>Step 1 : First, the concept is to attract a circle on our aircraft. To realize this, we’ll make the most of the UV coordinates and the GLSL distance operate. Let’s encapsulate the code right into a operate to boost readability.
// fragment.glsl
...
float circle(vec2 uv, vec2 circlePosition, float radius) {
	float dist = distance(circlePosition, uv);
	return 1. - smoothstep(0.0, radius, dist);
}

void fundamental() {
	float circleShape = circle(vUv, vec2(0.5), 0.5);
	gl_FragColor = vec4(vec3(circleShape), 1.);
}
Step 2 : Now, we’ll dynamically alter the circle’s origin place primarily based on mouse motion. With R3F, accessing normalized mouse positions is easy utilizing useFrame(). By passing mouse positions as uniforms to the fragment shader, we’ll observe the circle’s motion.
// Scene.jsx
...
useFrame((state, delta) => {
  const mouse = state.mouse;
  materialRef.present.uniforms.uMouse.worth = mouse;
});

// fragment.glsl
...
void fundamental() {
	vec2 mousePositions = uMouse * 0.5 + 0.5;
	float circleShape = circle(vUv, mousePositions, 0.5);
	gl_FragColor = vec4(vec3(circleShape), 1.);
}
Step 3 : Now, we simply must name the circle operate within the vertex shader and alter the z place primarily based on the circle. And… voilà! Now we have our bulge impact!
(Additionally, don’t neglect to interchange the feel within the fragment shader.)
// vertex.glsl
void fundamental() {
	vec3 newPosition = place;

	// Elevation
	vec2 mousePositions = uMouse * 0.5 + 0.5;
	float circleShape = circle(uv, mousePositions, 0.2);
	float depth = 0.7;
	newPosition.z += circleShape * depth;

	gl_Position = projectionMatrix * modelViewMatrix * vec4(newPosition, 1.0);
}

// fragment.glsl
uniform sampler2D uTexture;
various vec2 vUv;

void fundamental() {
	vec4 finalTexture = texture2D(uTexture, vUv);
	gl_FragColor = vec4(finalTexture);
}
Including Lighting
To boost the 3D look, let’s incorporate lighting results. Whereas coding customized lighting results throughout the fragment shader might be advanced, we are able to leverage present libraries like customShaderMaterial. With customShaderMaterial, we’ll seamlessly combine standardMaterial and a pointLight to realize gorgeous shading results.
// Scene.jsx
<CustomShaderMaterial
  ref={materialRef}
  baseMaterial={THREE.MeshStandardMaterial}
  vertexShader={vertexShader}
  fragmentShader={fragmentShader}
  uniforms={uniforms}
  flatShading
/>
<pointLight place={[2, 4, 6]} depth={30} distance={12} decay={1} />
Congratulations! You’ve efficiently applied the impact.
I’ve included a GUI throughout the repository so you’ll be able to play with positions and light-weight colour. I’d like to see your creations and the way you construct upon these demo. Be happy to share your experiments with me on Twitter!