
Bun and HTMX are two of probably the most fascinating issues taking place in software program proper now. Bun is an extremely quick, all-in-one server-side JavaScript platform, and HTMX is an HTML extension used to create easy, highly effective interfaces. On this article, we’ll use these two nice instruments collectively to develop a full-stack utility that makes use of MongoDB for information storage and Elysia as its HTTP server.
The tech stack
Our focus on this article is how the 4 most important parts of our tech stack work together. The parts are Bun, HTMX, Elysia, and MongoDB. This stack offers you a fast-moving setup that’s simple to configure and agile to alter.
- Bun is a JavaScript runtime, bundler, bundle supervisor, and check runner.
- Elysia is a high-performance HTTP server that’s much like Categorical however constructed for Bun.
- HTMX presents a novel method to including fine-grained interactivity to HTML.
- MongoDB is the flagship NoSQL document-oriented datastore.
Word that this text has two components. Within the second half, we are going to incorporate Pug, the HTMX templating engine, which we’ll use to develop a number of fancy front-end interactions.
Set up and arrange
You’ll want to put in Bun.js, which is simple to do. We’re additionally going to run MongoDB as a service alongside Bun on our growth machine. You may examine putting in and organising MongoDB right here. Upon getting these packages put in, each the bun -v and mongod -version instructions ought to work from the command line.
Subsequent, let’s start a brand new mission:
$ bun create elysia iw-beh
This tells bun to create a brand new mission utilizing the Elysia template. A template in Bun is a handy method to jumpstart tasks utilizing the create command. Bun can work like Node, with none configuration, however the config is good to have. (Be taught extra about Bun templates right here.)
Now, transfer into the brand new listing: $ cd iw-beh.
And run the mission as it’s: $ bun run src/index.js.
This final command tells bun to run the src/index.js file. The src/index.js file is the code to start out a easy Elysia server:
import { Elysia } from "elysia";

const app = new Elysia()
  .get("https://www.infoworld.com/", () => "Whats up Elysia")
  .hear(3000);

console.log(
  `🦊 Elysia is working at ${app.server?.hostname}:${app.server?.port}`
);
On this file, we import Elysia and use it to instantiate a brand new server that listens on port 3000 and has a single GET endpoint on the root. This endpoint returns a textual content string: “Whats up Elysia.” How all this works is analogous in spirit to Categorical.
For those who go to localhost:3000 you’ll get a easy greeting:
 IDG
IDGNow that we now have Elysia working, let’s add the static plugin. Elysia has a number of plugins for dealing with frequent situations. On this case, we wish to serve some HTML from disk. The static plugin is simply what we want:
$ bun add @elysiajs/static
Now the Elysia server working the static plugin ought to serve every thing within the iw-beh/public listing. If we drop a easy HTML file in there and go to localhost:3000/ public, we’ll see its contents.
The magic of HTMX
Subsequent, let’s add an HTMX web page to index.html. Right here’s a easy one from the HTMX homepage:
<script src="https://unpkg.com/htmx.org@1.9.10"></script>

<button hx-post="/clicked"
    hx-trigger="click on"
    hx-target="#parent-div"
    hx-swap="outerHTML">
    Click on Me!
</button>
This web page shows a button. When clicked, the button makes a name to the server for the /clicked endpoint, and the button is changed with no matter is within the response. There’s nothing there but, so it presently doesn’t do something.
However discover that each one that is nonetheless HTML. We’re making an API name and performing a fine-grained DOM change with none JavaScript. (The work is being carried out by the JavaScript within the htmx.org library we simply imported, however the level is we do not have to fret about it.)
HTMX offers an HTML syntax that does these items utilizing simply three component attributes:
hx-postsubmits a submit when it’s triggered for an AJAX request.hx-targettellshx-postwhich occasions execute an AJAX request.hx-swapsays what to do when an AJAX occasion happens. On this case, change the current component with the response.
That’s fairly easy!
Elysia and MongoDB
Now let’s make an endpoint in Elysia that may write one thing to MongoDB. First, we’ll add the MongoDB driver for Bun:
bun add mongodb
Subsequent, modify src.index.ts like this:
import { Elysia } from "elysia";
import { staticPlugin } from '@elysiajs/static';
const { MongoClient } = require('mongodb');

const app = new Elysia()
  .get("https://www.infoworld.com/", () => "Whats up Elysia")
  .get("/db", async () => {

    const url = "mongodb://127.0.0.1:27017/quote?directConnection=true&serverSelectionTimeoutMS=2000&appName=mongosh+1.8.0";

    const consumer = new MongoClient(url, { useUnifiedTopology: true });
strive {

    await consumer.join();

    const database = consumer.db('quote');
    const assortment = database.assortment('quotes');

    const stringData = "Thought is the grandchild of ignorance.";

    const consequence = await assortment.insertOne({"quote":stringData});
    console.log(`String inserted with ID: ${consequence.insertedId}`);

  } catch (error) {
    console.error(error);
  } lastly {
    await consumer.shut();
  }
          return "OK";
  })
  .use(staticPlugin())
  .hear(3000);

console.log(
  `🦊 Elysia is working at ${app.server?.hostname}:${app.server?.port}`
);
On this code, we have added a /db endpoint that talks to MongoDB. Proper now, it simply writes a quote to the quote database, contained in the quotes assortment. You may check this straight by going to localhost:3000/db. Then, you’ll be able to confirm the information is in MongoDB:
$ mongosh

check> use quote
switched to db quote
quote> db.quotes.discover()
[
  {
    _id: ObjectId("65ba936fd59e9c265cc8c092"),
    quote: 'Thought is the grandchild of ignorance.',
    author: 'Swami Venkatesananda'
  }
]
Create an HTMX desk
Now that we’re connecting to the database from the entrance finish, let’s create a desk to output the prevailing quotes. As a fast check, we’ll add an endpoint to the server:
.get("/quotes", async () => {
    const information = [
      { name: 'Alice' },
      { name: 'Bob' },
    ];
    // Construct the HTML checklist construction
  let html="<ul>";
  for (const merchandise of information) {
    html += `<li>${merchandise.title}</li>`;
  }
  html += '</ul>';

    return html
  })
After which use it in our index.html:
<ul id="data-list"></ul>
<button hx-get="/quotes" hx-target="#data-list">Load Knowledge</button>
Now, once you load /public/index.html and click on the button, the checklist despatched from the server is displayed. Discover that issuing HTML from the endpoint is totally different from the frequent JSON sample. That’s by design. We’re conforming to RESTful rules right here. HTMX has plugins for working with JSON endpoints, however that is extra idiomatic.
In our endpoint, we’re simply manually creating the HTML. In an actual utility, we’d most likely use some form of JavaScript-HTML templating framework to make issues extra manageable.
Now, we are able to retrieve the information from the database:
.get("/quotes", async () => {

const url = "mongodb://127.0.0.1:27017/quote?directConnection=true&serverSelectionTimeoutMS=2000&appName=mongosh+1.8.0";

      const consumer = new MongoClient(url, { useUnifiedTopology: true });
    strive {
      await consumer.join();

      const database = consumer.db('quote');
      const assortment = database.assortment('quotes');

      const quotes = await assortment.discover().toArray();

      // Construct the HTML desk construction
      let html="<desk border="1">";
      html += '<tr><th>Quote</th><th>Writer</th></tr>';
      for (const quote of quotes) {
        html += `<tr><td>${quote.quote}</td><td>${quote.creator}</td></tr>`;
      }
      html += '</desk>';

      return html;
    } catch (error) {
      console.error(error);
      return "Error fetching quotes";
    } lastly {
      await consumer.shut();
    }

  })
On this endpoint, we retrieve all the prevailing quotes within the database and return them as a easy HTML desk. (Word that in an actual utility, we’d extract the database connection work to a central place.)
You’ll see one thing like this:
 IDG
IDGThis screenshot exhibits the one row we inserted after we hit the /db endpoint earlier.
Now, let’s add the flexibility to create a brand new quote. Here is the back-end code (src/index.ts):
app.submit("/add-quote", async (req) => {
    const url = "mongodb://127.0.0.1:27017/quote?directConnection=true&serverSelectionTimeoutMS=2000&appName=mongosh+1.8.0";

    strive {
        const consumer = new MongoClient(url, { useUnifiedTopology: true });
        await consumer.join();

        const database = consumer.db('quote');
        const assortment = database.assortment('quotes');

        const quote = req.physique.quote;
        const creator = req.physique.creator;

        await assortment.insertOne({ quote, creator });

        return "Quote added efficiently";
    } catch (error) {
        console.error(error);
        return "Error including quote";
    } lastly {
        await consumer.shut();
    }
})
And right here is the entrance finish (public/index.html):
<type hx-post="/add-quote">
    <enter sort="textual content" title="quote" placeholder="Enter quote">
    <enter sort="textual content" title="creator" placeholder="Enter creator">
<button sort="submit">Add Quote</button>
Whenever you enter an creator and quote, and hit Add Quote it’ll be added to the database. For those who click on Load Knowledge, you will notice your replace within the checklist. It ought to look one thing like this:
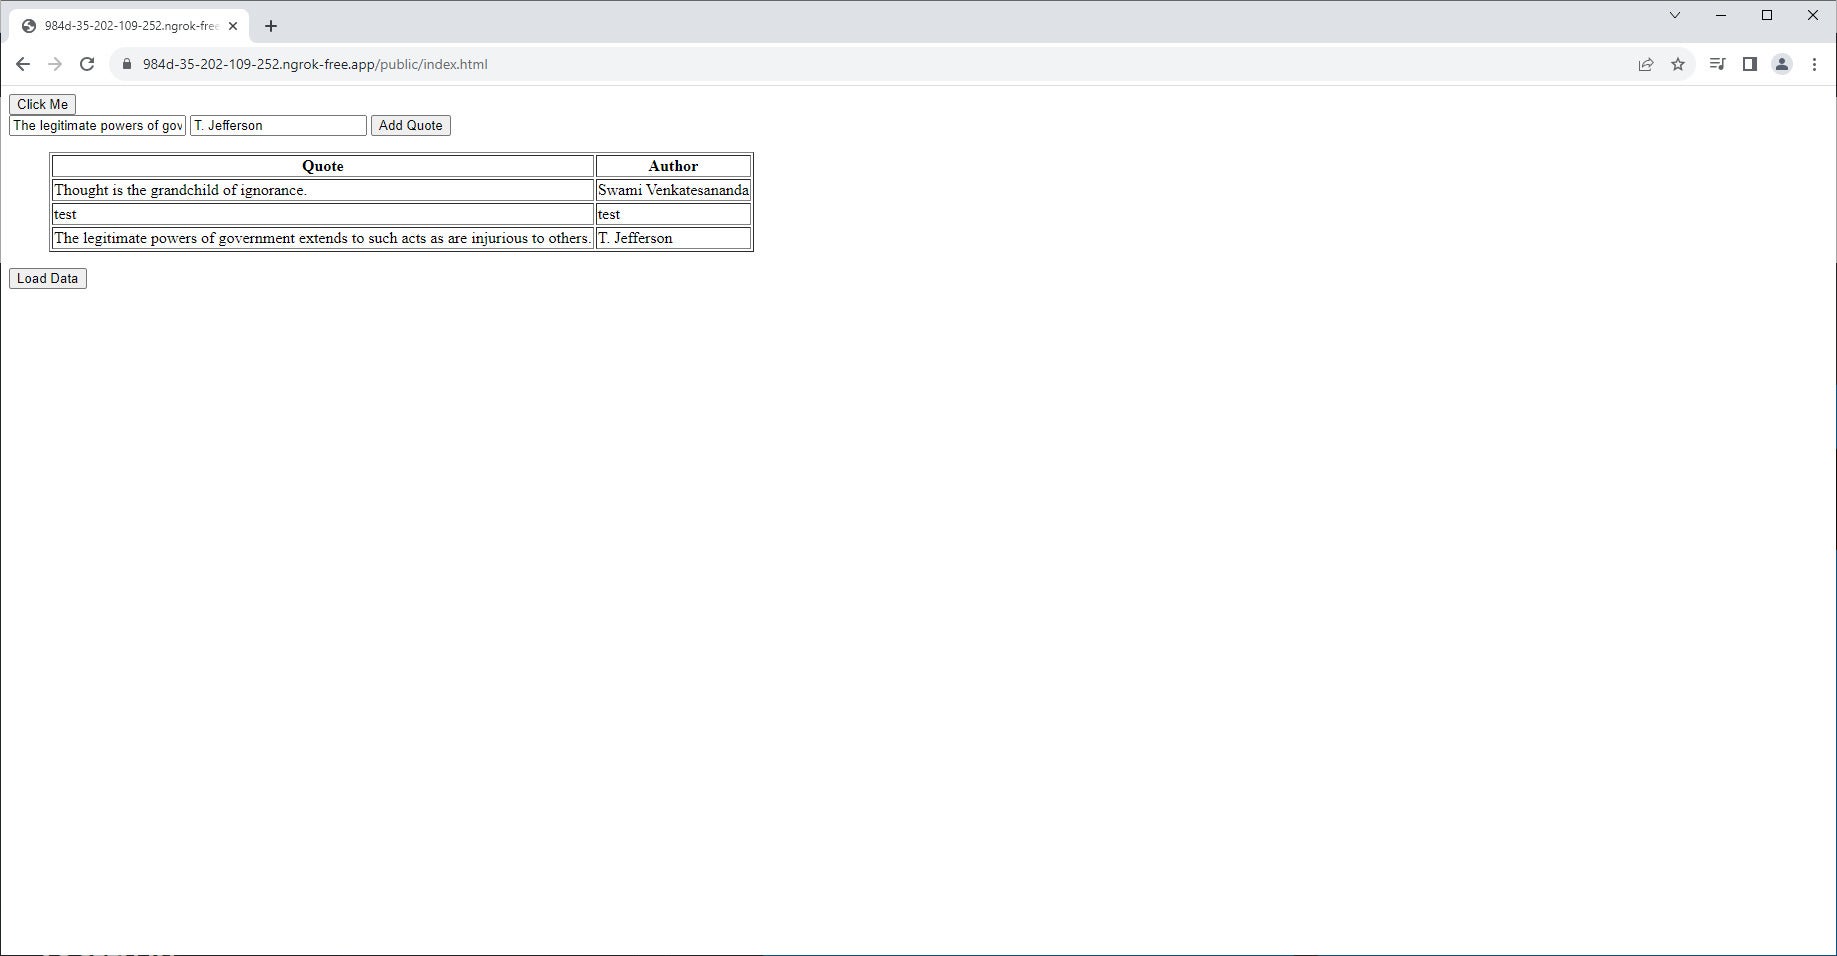 IDG
IDGFor those who take a look at each the server and consumer for the appliance to date, you’ll be able to see that we’re doing a naked minimal of labor. The largest factor HTMX has streamlined right here is submitting the shape. The hx-post attribute replaces all of the work of taking the information off the shape, marshaling it into JSON, and submitting it with fetch() or one thing related.
Conclusion
As issues turn into extra advanced, you start having to depend on JavaScript within the consumer, even with HTMX. For instance, inline row modifying. Some issues that you just would possibly anticipate to make use of JavaScript for, like inserting the brand new rows straight into the desk, could be carried out with HTMX swapping. HTMX enables you to do lots with its easy syntax after which fall again to JavaScript when vital.
The largest psychological change is in producing HTMX from the server. You’ve got your selection of a number of high-end HTML or JavaScript templating engines to make this a lot simpler. As soon as you might be used to working with HTMX, it’s a breeze. Basically, you’ve eradicated the entire layer of JSON conversion from the stack.
We’ve simply taken the quickest run by combining bun, Elysia, HTMX, and MongoDB, however you need to no less than have a really feel for this stack. The parts work nicely collectively with none pointless friction. Bun, Elysia, and MongoDB quietly do their jobs, whereas HTMX takes a bit of extra thought in case you are extra accustomed to JSON APIs. Discover the code for this text on my GitHub repository. We’ll work extra with this instance within the subsequent article, the place we’ll use Pug so as to add some fancy interactions into the combination.
Copyright © 2024 IDG Communications, Inc.